Covenant Vision Christian Church started livestreaming in October 2020 to accommodate both an online and onsite audience as the church returned to physical worship services. Aaron Khoo, Head of Media & Communications at CVCC gives a run-through of what they’ve had to prepare in their ramp-up.
First things first – have a dedicated laptop or computer
To be able to livestream, we had to acquire a dedicated PC that we now use solely for the livestream feed. Our video mixer is still the same, but we now feed the video and audio source to YouTube using a dedicated PC.
If the PC is not powerful enough, it might cause intermittent dropping of frames, which we do not want; if the online audience deems the video to be of low production quality, they will either drop off, or avoid returning.
Basic software
The PC is running Open Broadcaster Software (OBS), which is a free and fairly easy to use interface. It works well with YouTube Live and Facebook Live, though it can only feed through to one channel at any one time.
There are workarounds, but it gets more complicated, or you’d need to purchase additional software. So to keep things simple, we choose to run our livestream services on YouTube Live.
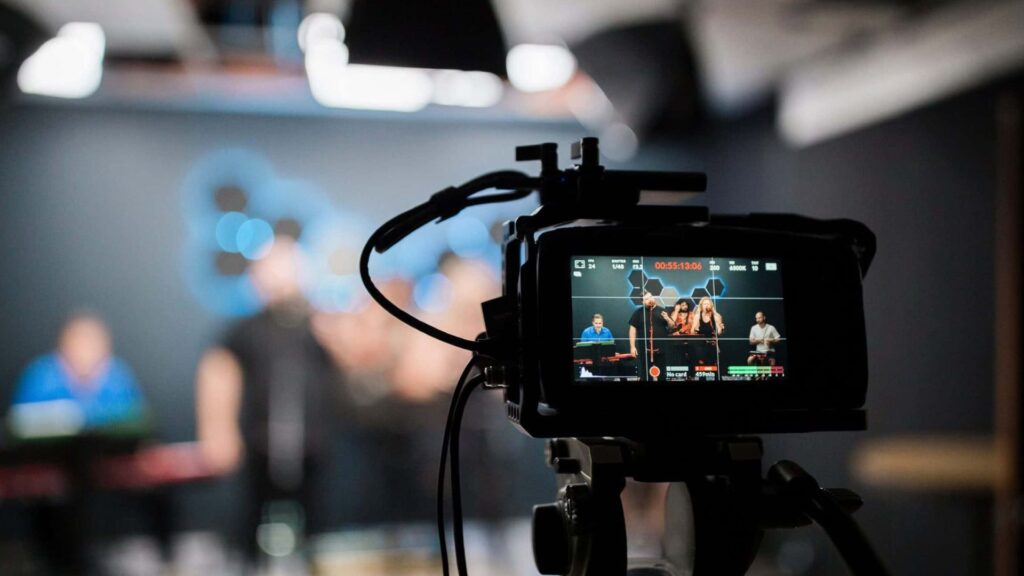
Visual capture
We also purchased 2 new PTZ (Pan Tilt Zoom) cameras, and a remote joystick. This allows us to control both cameras and the video switcher from the control room. So instead of having 3 volunteers, we reduce the team down to 1 person on a given Sunday.
The PTZ camera also helps to control the speed of the camera movement, allowing for a consistent pan/tilt/zoom movement.
Investing in a video switcher
If you do not have a switcher, I would recommend the Blackmagic ATEM Mini Pro. Given the price, it is the most affordable video switcher in its class.
The machine has enough functionality to handle a decent livestream, or even recording. It even has DSK (downstream key) abilities so that you can have lyrics in the lower thirds, making it look very professional. And at a price tag of $900+, it is super worth the investment.
Audio capture
Our audio capture remains relatively the same. We have a HDMI feed (audio + visual) that is going out to all the TV screens in our sanctuary and to the multi-purpose hall. So all we do now is to tap the same HDMI feed and send it to the dedicated streaming PC that sends the overall feed to YouTube.
However, our sound crew does have to pay more attention to the sound that is going to the HDMI feed. Therefore, they have to mix the sound separately for the house and the HDMI feed. So they will constantly need to monitor both mixes, making adjustments accordingly to both if there is a need (i.e. echo, feedback, etc).
We always do a comprehensive sound check before the service to hear the sound that is coming out of YouTube. So we will “Go Live” on YouTube, setting the video to Private. Once we have recorded the “live” session, we will play back and listen to the audio in the video and see if any further adjustments need to be made. Once everything is set, we still monitor the sound via an iPad / iPhone that is streaming the Live Stream Feed.
Final tips on production
Understanding your equipment is actually more important than it may seem. Sometimes when we want a specific effect, or if we see something that someone else is doing, we assume that we will need new equipment to be able to achieve that intended effect.
However, once you understand your existing equipment properly, it may be able to do the same thing, just in a different way.
Learning about your existing equipment in depth may also allow you to stumble upon functions that you didn’t previously know it had.
So you will be able to add in additional effects without spending any additional money.
Finding good angles makes a difference. So we raised our cameras so that they are at eye level with the speaker and worship team. Previously we had a camera positioned from a bottom-up angle, so this may have caused some unflattering views of the speakers and other people on stage.
We added a filter in OBS to tweak the colours of the visual as it is being processed and streamed out to YouTube. This is an in-built function in OBS and it allows us to create more contrast and depth of colour to the visual.
Normally visuals that are straight from camera have a tendency to be flat or washed out. So adding a custom filter helps to improve the visual without any additional cost.